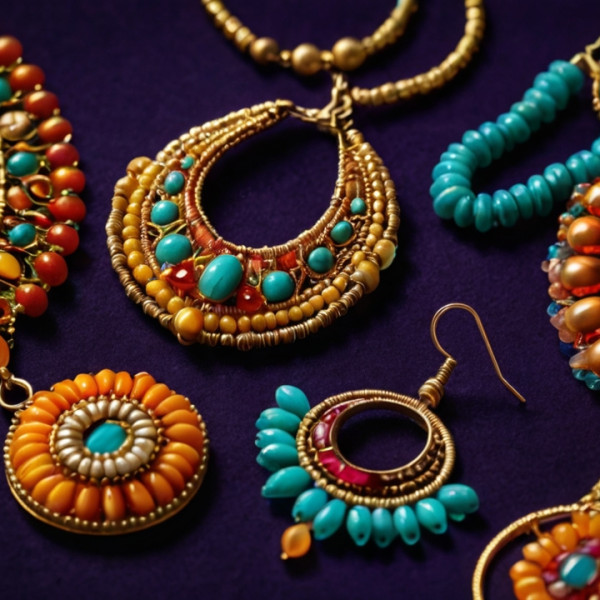
How to make beaded jewelry: step-by-step guide

How to make beaded jewelry: step-by-step guide

Decorating with beads is not only a stylish accessory, but also a great way to express your creativity and individuality. I have always been fascinated by handicrafts, and when I first tried making jewelry with beads, I realized that it was not just a hobby, but a true passion. In this article, I will share my experience, tips, and a step-by-step guide on how to create your own bead masterpieces.

Why Choose Beaded Jewelry?

Beaded jewelry has numerous advantages:

  • Uniqueness: Each piece of jewelry created by you will be one of a kind.
  • Accessibility: Beads can be purchased at many craft stores, as well as online.
  • Variety: You can experiment with colors, shapes, and techniques, allowing you to create an endless number of variations.

Main Materials for Making Beaded Jewelry

Before you start, you will need some materials:

  • Beads: Choose different colors and sizes. I recommend starting with classic round beads.
  • Thread: It is best to use special threads for bead weaving that do not break.
  • Needle: It should be thin enough to pass through the bead hole.
  • Closures: To finish your jewelry.
  • Cabochons, beads, findings: Additional elements for creating unique designs.

Step-by-Step Guide: How to Create Beaded Jewelry

Step 1: Design Selection

Before starting work, decide on the design of your jewelry. You can find inspiration on the internet, Pinterest, or Instagram. I, for example, always start with a sketch to understand what I want to create.

Step 2: Material Preparation

Gather all the necessary materials so that nothing distracts you during work. I always keep everything at hand: beads, threads, needle, and findings. This allows me to focus on the process.

Step 3: Choosing Weaving Technique

There are numerous techniques for creating beaded jewelry:

  • Thread weaving: A very popular method that allows you to create various patterns.
  • Base weaving: Used to create voluminous items such as bracelets.
  • Tatting: A technique that allows you to create lace designs.

I usually start with simple patterns, such as "beaded snake," to master the basics.

Step 4: Weaving

Now it\'s time to start weaving. Here are a few tips to help you in this process:

  • Don\'t rush: Give yourself time to learn the techniques. I remember my first attempts were imperfect, but over time I learned.
  • Regularly check the pattern: This will help avoid mistakes.
  • Experiment with colors: Don\'t be afraid to combine different bead colors to achieve interesting results.

Step 5: Finishing the Jewelry

When you have finished weaving, you need to secure the threads and attach closures. I use simple knots to secure the threads, and then trim the excess ends.

Additional Tips for Beginners

  • Find your community: Join a group of bead weaving enthusiasts on social media. This is a great way to get support and inspiration.
  • Practice: The more you weave, the better your skills will become. I practiced every day until I started feeling confident in my abilities.
  • Don\'t be afraid of mistakes: Everyone makes mistakes. I remember my first bracelet didn\'t go as planned, but it gave it uniqueness.

Creating jewelry with beads is not only a creative process, but also an opportunity to enjoy the results of your work. I hope this guide inspires you to try your hand at bead weaving. Remember, your inspiration and creativity are the most important. So take beads, threads, and needle, and onwards to new creative achievements!

0
276
14 January, 2026
icon_viber Viber icon_teleg Telegram icon_whatsapp Whatsapp icon_callback Retail customers icon_callback Wholesale customers icon_callback Master classes icon_callback Request a call icon_email Write to mail